> For the complete documentation index, see [llms.txt](https://docs.pline.ai/llms.txt). Markdown versions of documentation pages are available by appending `.md` to page URLs; this page is available as [Markdown](https://docs.pline.ai/getting-started/creating-a-workflow/custom-workflows.md).
# Custom Workflows
Custom workflows in Pline enable users to customize their data extraction processes to align perfectly with the unique structures of specific websites. This ensures accurate and highly efficient data collection, effectively addressing the unique needs of each individual.
### Using Custom Workflows
All custom workflows are stored within the Pline Ecosystem.
Follow these simple steps to get started with using Custom Workflows.
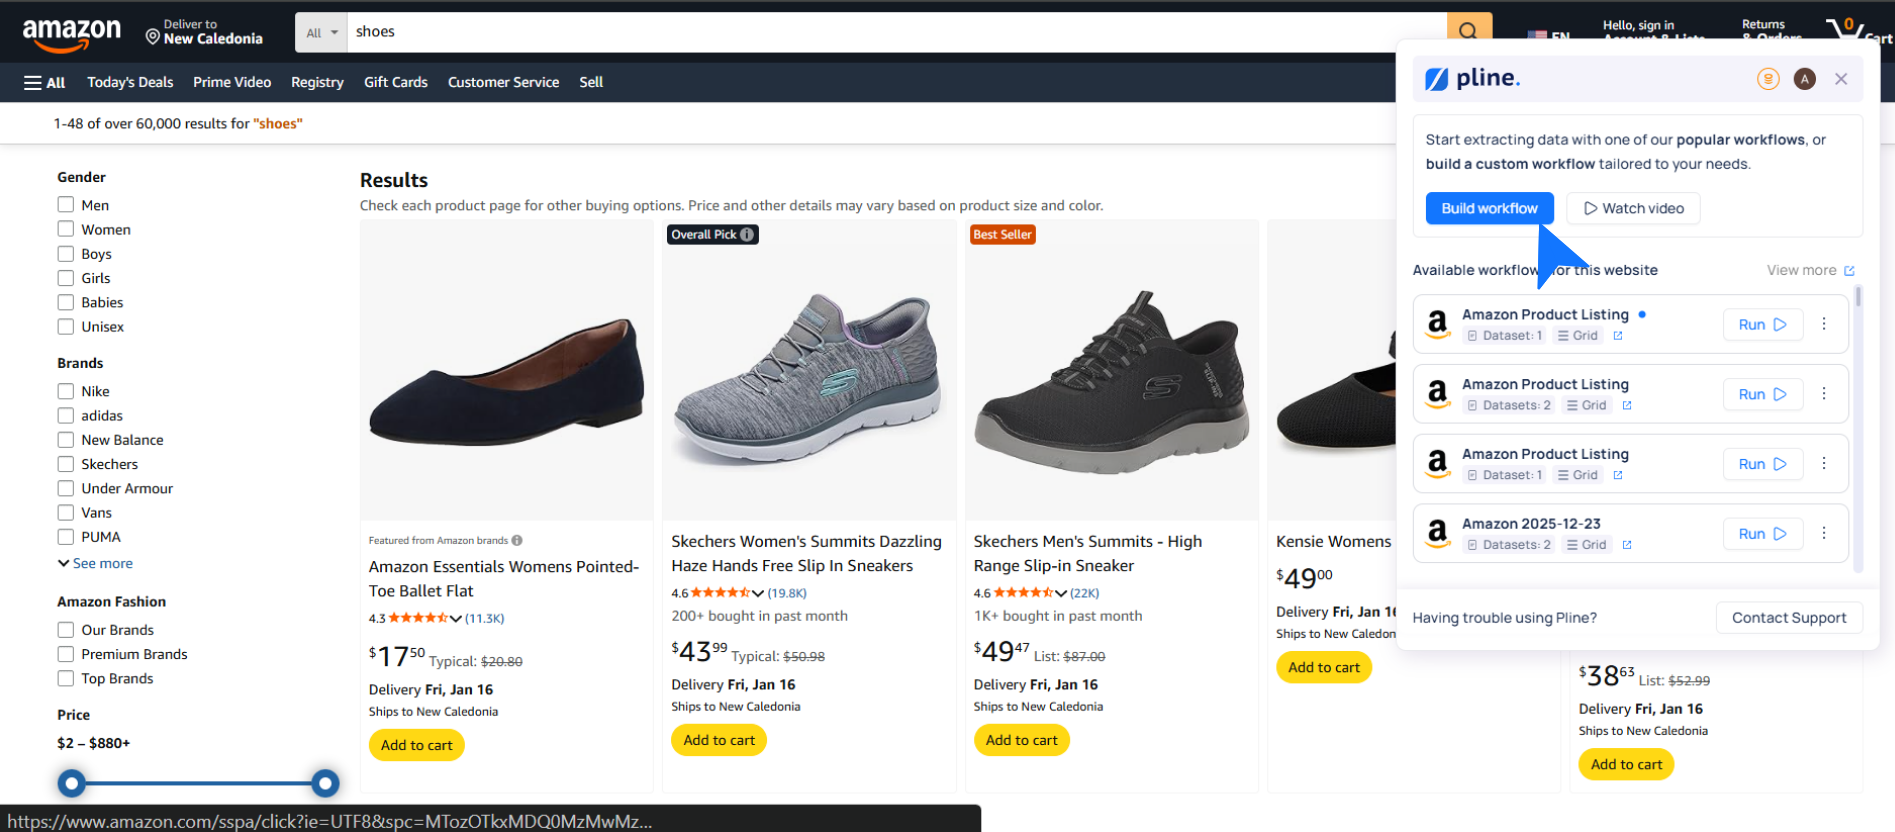
#### Step 1: Create a Workflow
Open the Pline extension and click **"Build Workflow.”**
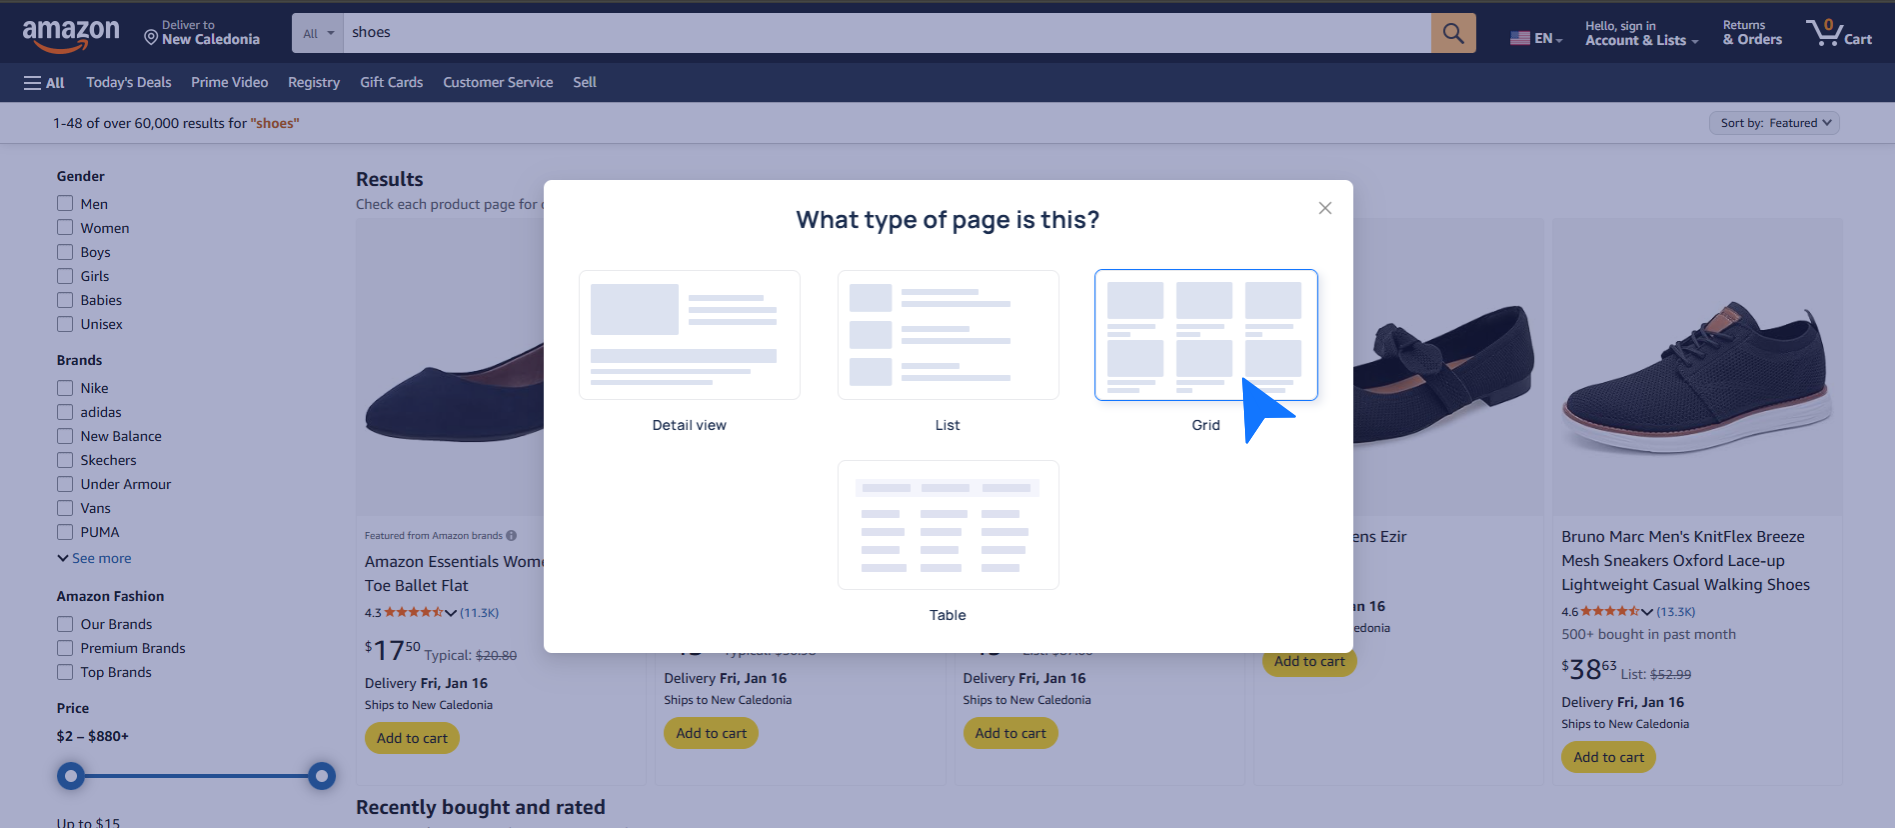
#### Step 2: Select Page Type
Webpages present data in various layouts, such as **Vertical, Grid, or Horizontal Layouts.**
* Choose the layout that matches the page structure (e.g., Grid Layout).
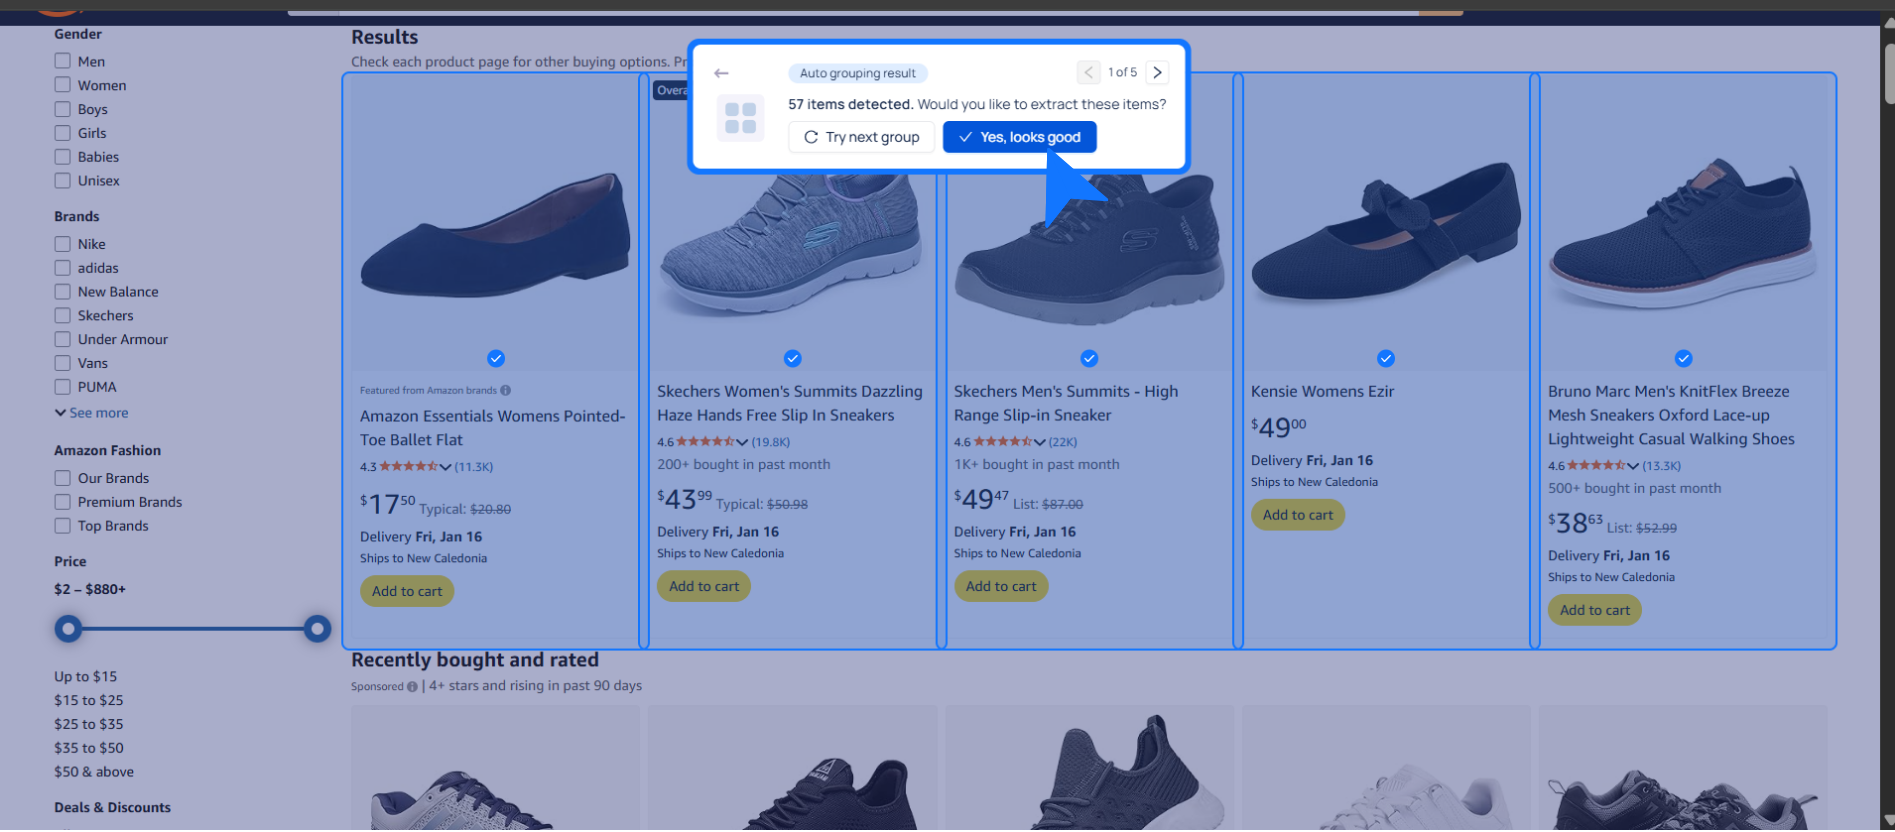
#### Step 3: Auto Grouping Result
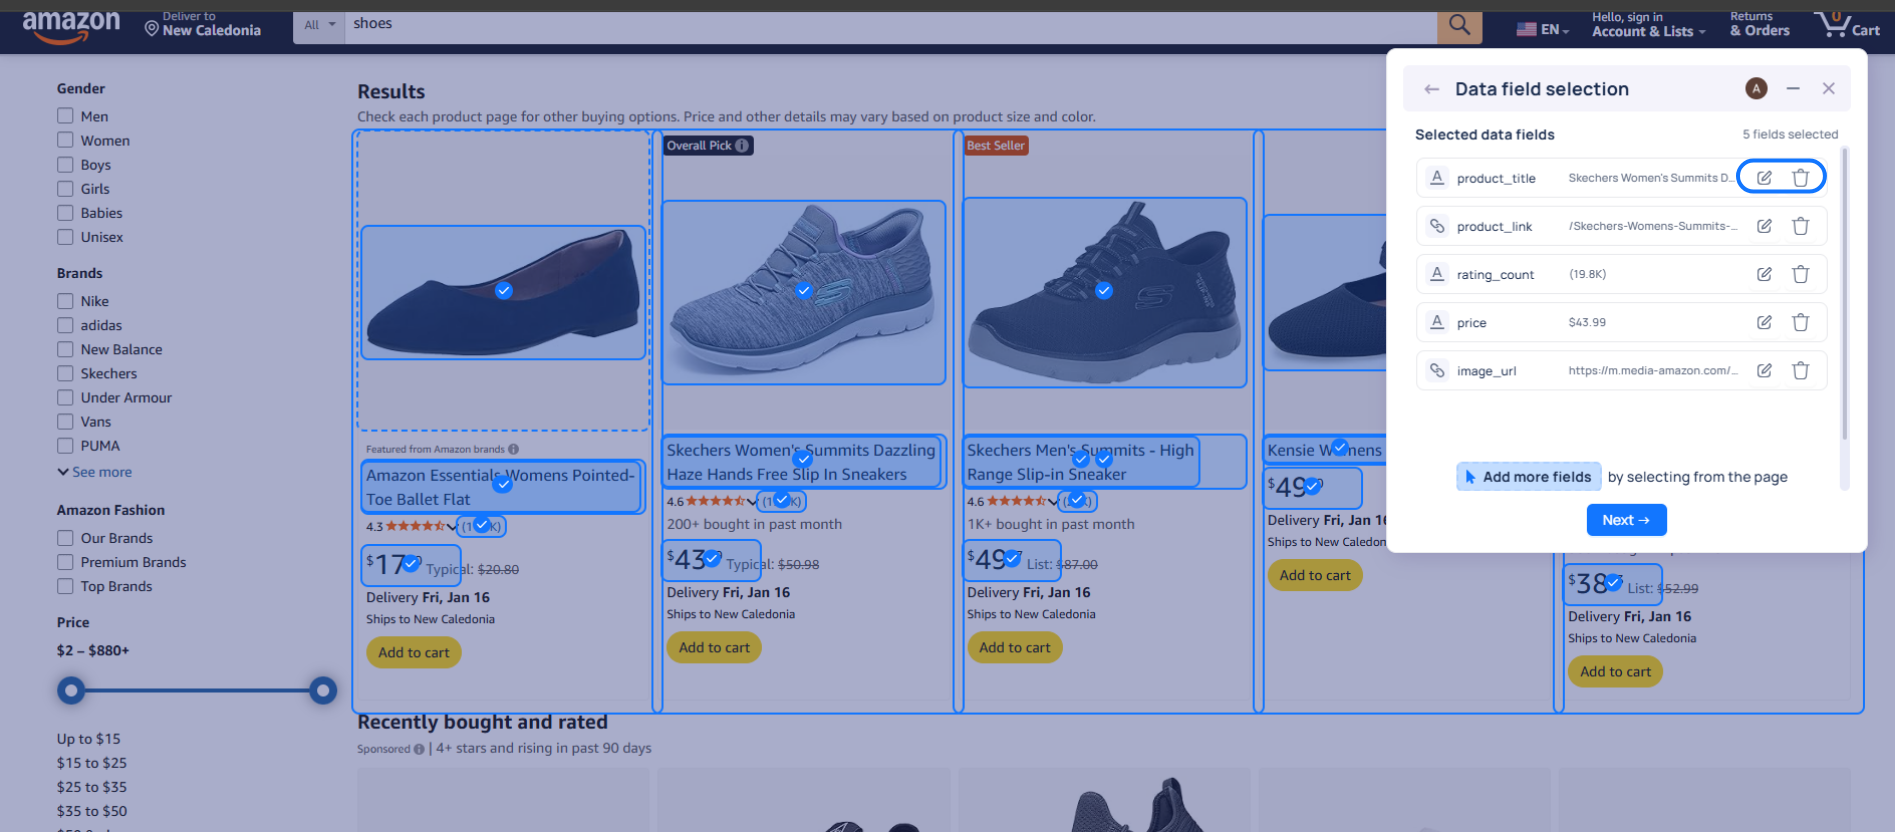
Pline automatically detects and groups similar items on the page. If it looks good, click on **“Yes, Looks good.”**
If that’s not the group you want to extract, you can try selecting the next group.
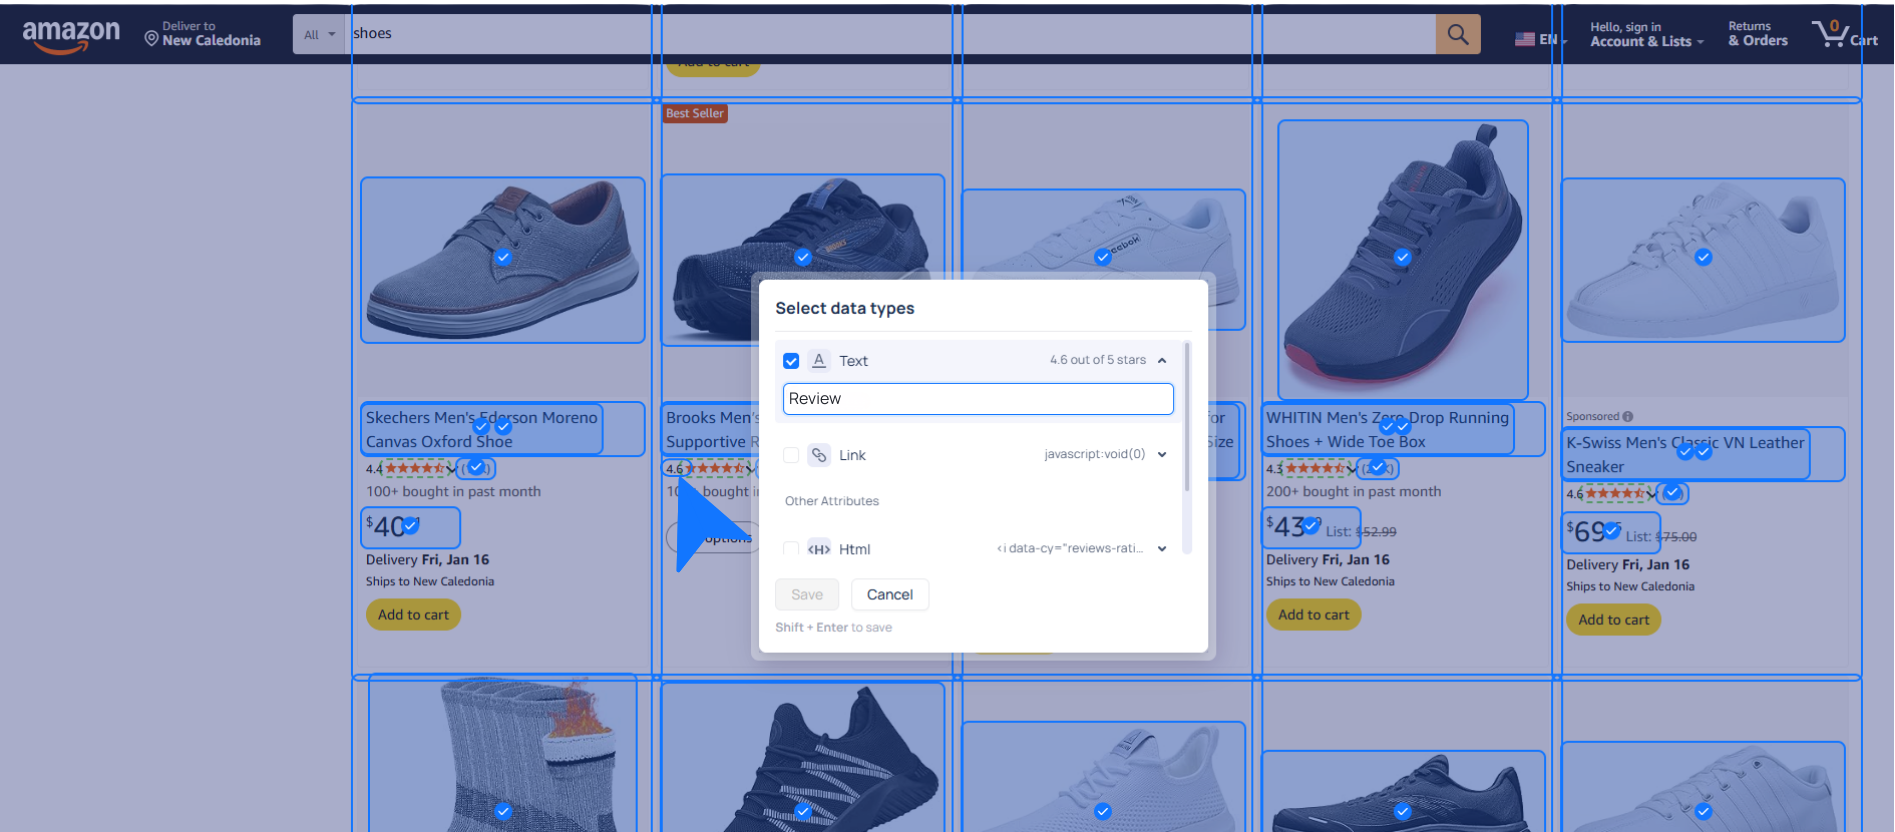
* You can easily add, edit, or remove fields based on your requirements.
{% hint style="info" %}
If any required data is missing, you can **manually add new fields** by selecting the required elements directly on the page.
{% endhint %}
#### Step 4: Select Pagination Type
* Select the appropriate pagination type, then locate it on the page and tag it.
* Preview the sample data to ensure the correct items and fields are being extracted as expected.
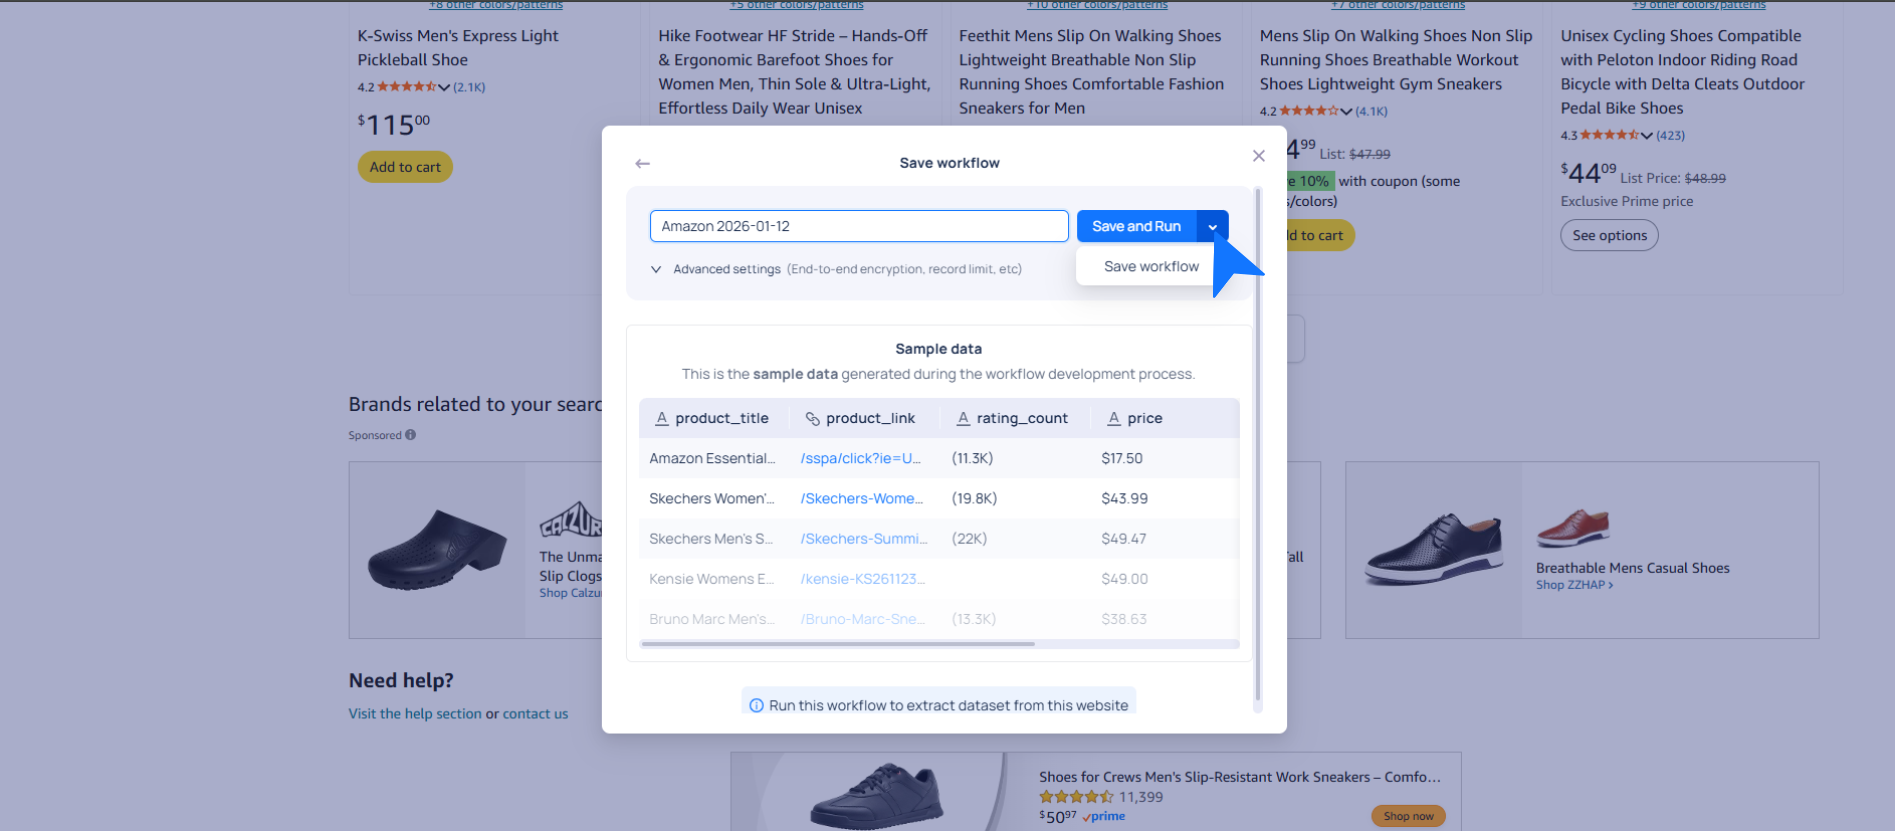
#### Step 5: Save the Workflow
Give your workflow a name, then hover over the dropdown menu to save it for future use.
{% hint style="info" %}
You can also directly save and run the workflow.
{% endhint %}
.png?alt=media&token=9bc0b43a-1211-4a44-bba4-38c0cef368e2)
%20(1).png?alt=media&token=6042dad9-145f-4f0a-b9ed-64f0f796ed8f)