> For the complete documentation index, see [llms.txt](https://docs.pline.ai/llms.txt). Markdown versions of documentation pages are available by appending `.md` to page URLs; this page is available as [Markdown](https://docs.pline.ai/features/integrations/setting-up-email-integration.md).
# Setting Up Email Integration
Pline’s Email integration allows you to automatically send extracted data and reports directly to your inbox, enabling real-time alerts, reporting, and streamlined communication without manual exports.
Here's how to set up Email Integration:
### Step 1: Access the Pline's Platform
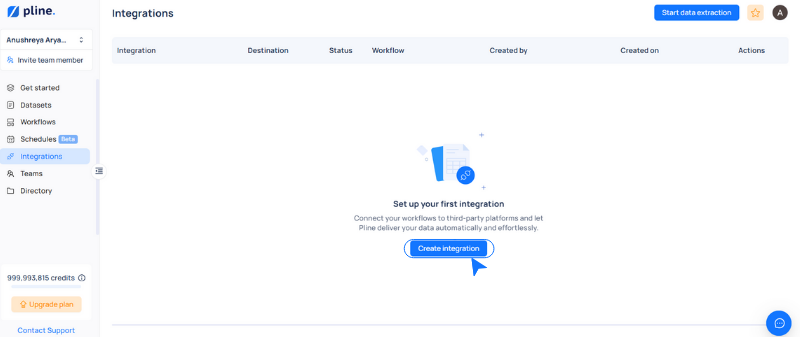
Navigate to the **Integrations** section and click the **Create Integration** button.
### Step 2: Set up the dataset
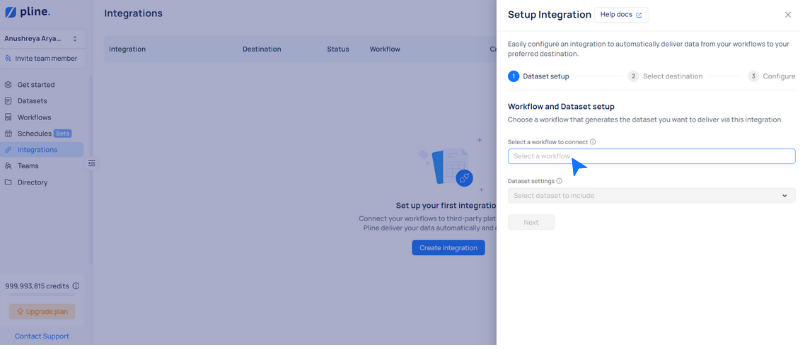
* Select the workflow or use the dropdown to choose the workflow you want to integrate.
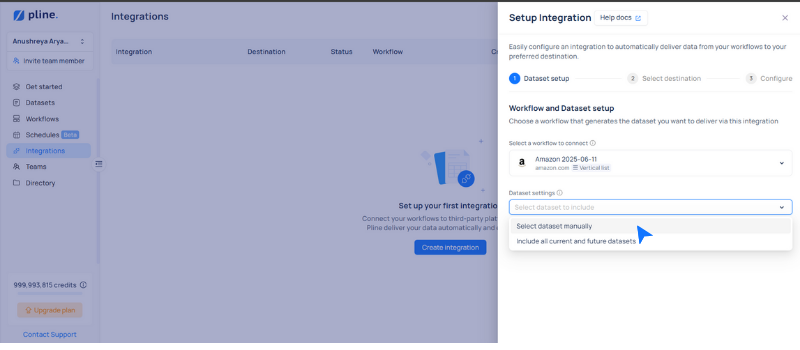
* Manage your dataset settings by manually selecting specific datasets or automatically including all current and future datasets.
* Select the datasets you want to connect, then click **"Next".**
### Step 3: Configure Destination
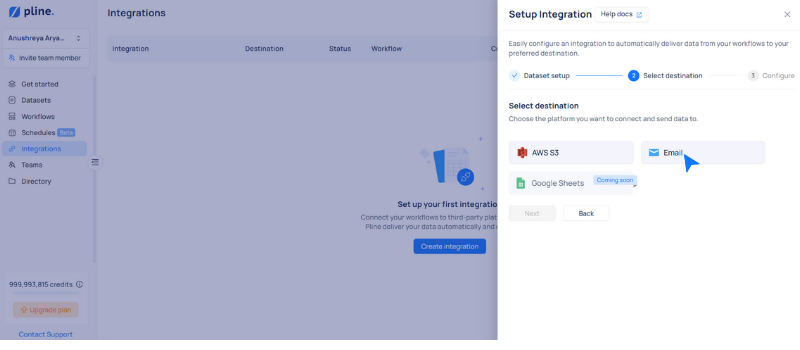
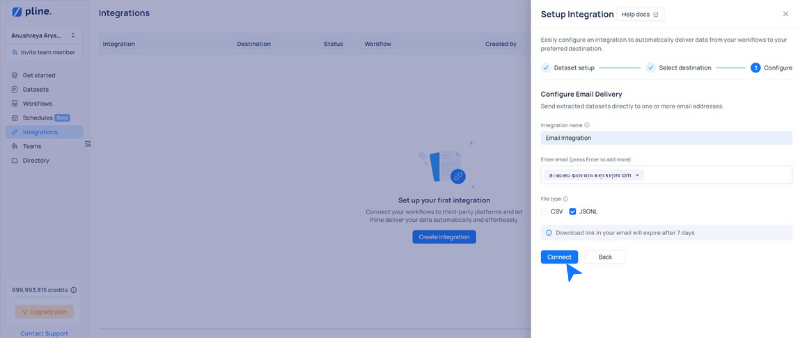
Select **Email** as the destination and complete the following configuration fields:
* **Integration Name**: A custom name to identify the integration.
* **Recipient Email Address**: Enter the email address where you want to send the data.
* **File Type**: Select the file type for the exported data (CSV or JSON).
{% hint style="info" %}
The download link included in the email will expire after 7 days.
{% endhint %}
\
After you've successfully set up your Email integration, click "**Connect"** to complete the process.